3D design
Assignments:
Individual assignment:
⚡Model (raster, vector, 2D, 3D, render, animate, simulate, ...) a possible final project, compress your images and videos, and post it on your class page

This week we had been in touch whit the modeling open-source world and in my final project I would create models in Autodesk Fusion 360 of the cards and also the box who would contain it. cause I really like it and its a bit easy to use. The same experience happened with the 2D softwares, illustrator is my mayor (Sorry Open world, but I get use to use it and love it). Anyway I try some softwares that I regularly do not use.
Onshape
I have started to use this software cause it was a recomendation from the Academy, I didn't knew it but when I enter I remember the interface of Solidworks or Fusion because its similar. So.. at firts I iniciate the software and appeared to me a few advices (those are below this text)

This facility to modelate surprise me. Ok..the interface is roughest than Fusion but it works. The installation was easy. To start to draw, I've thought of an arquitectural piece but no.. I prefer to test the tools first and then get complicated with technical sheets and stuff

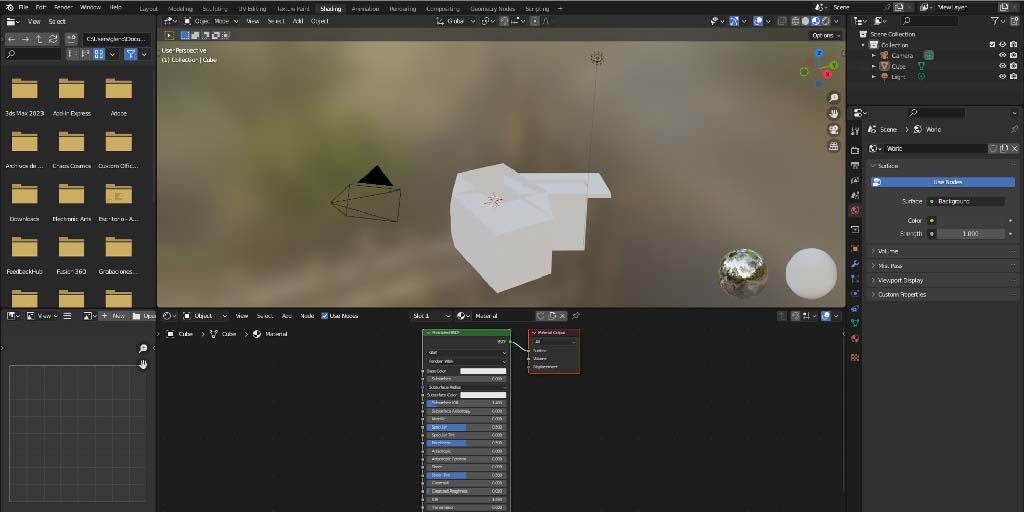
Blender
Blender is a 3D software and is free and open-source, is used to 3D computer graphics software tool set used for creating animated films, visual effects, 3D-printed models and a lot of other application.
I've never used this software before but I took the adventure.My first impresion was...OMG Were its all ? the interface it's different but with pacience and help from Silvia (the academy instructor)
So... firts things firts
Iniciation Steps for a foreigner
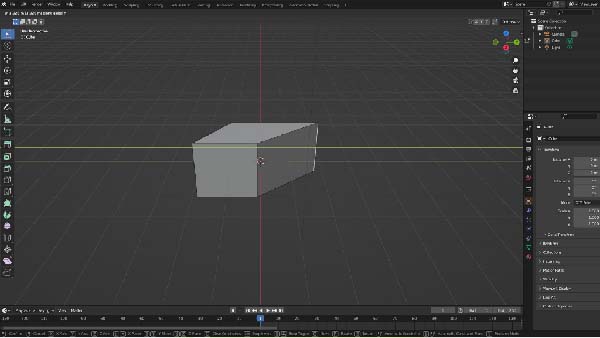
- 1. When you iniciate Blender its appers a 3D Cube and one light
- 2. If you loose something you can go to the side bar
- 3. The "Point" helps to go faster to the beginning
The Views
As I said, it's a little bit tricky know the shortcuts but next you have...
| 1 . FRONT VIEW |
| 3 . SIDE VIEW |
| 7 . TOP |
| CTRL + Number of view |
The Visualization mode
In Blender this ones situates in the right superior bar and pressing the button "Z" it deploytmentment a variety of options
| In the Numeric Pad |
|---|
| VIEW - CAMERA - ACTIVE CAMARA |
| /tabs= default windows |
| Edit mode = returns to the active view |
| Modeling tab = To work in the 3D object geneerated |
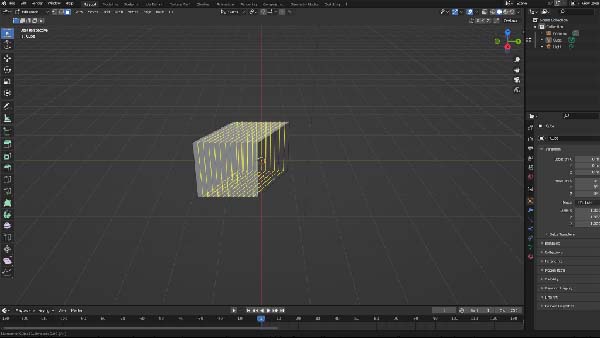
| Edit Mode |
|---|
| Face selection mode = 3 |
| Edge selection mode = 3 |
| Vertex selection mode = 3 |
Experimenting
Testing everything (with Silvia and my Fabers fellows)
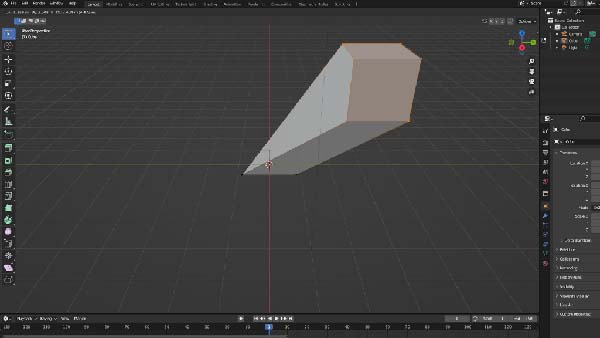

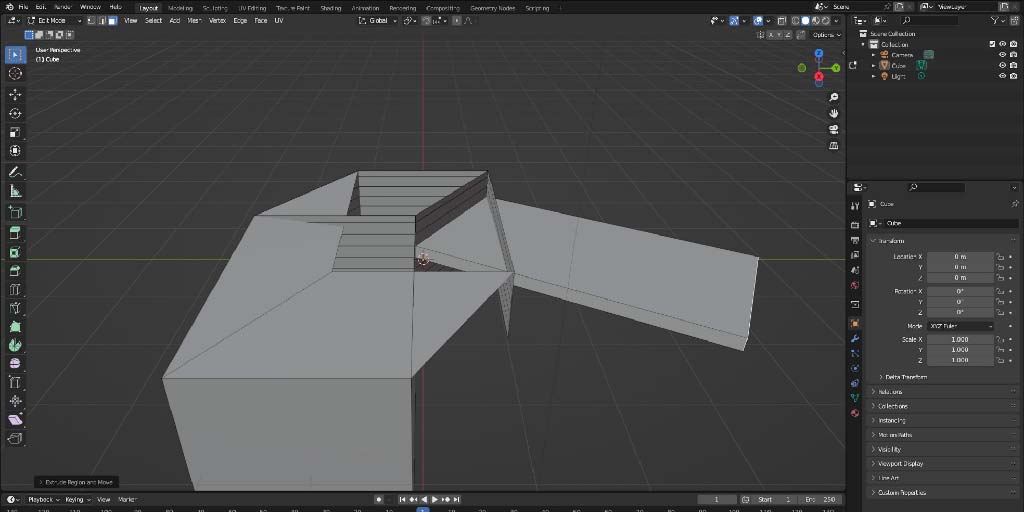
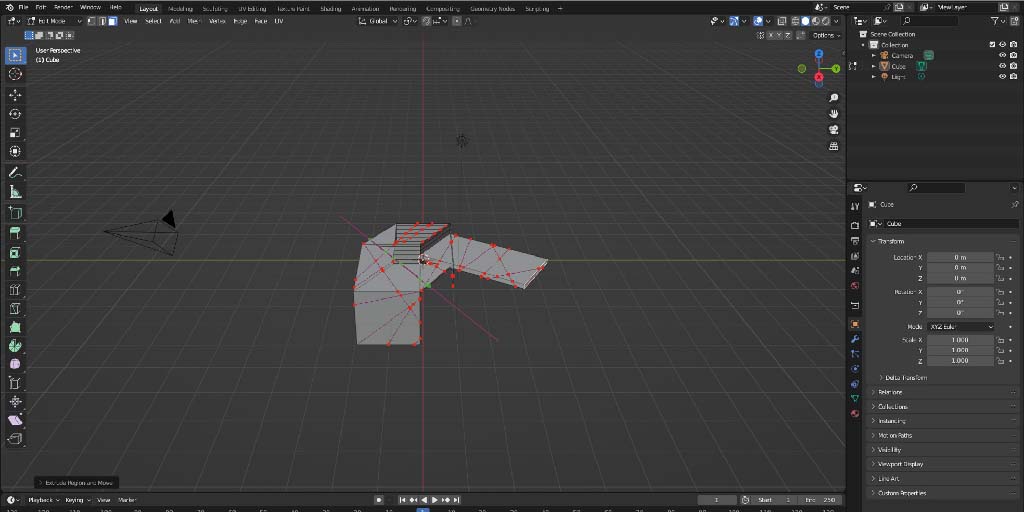
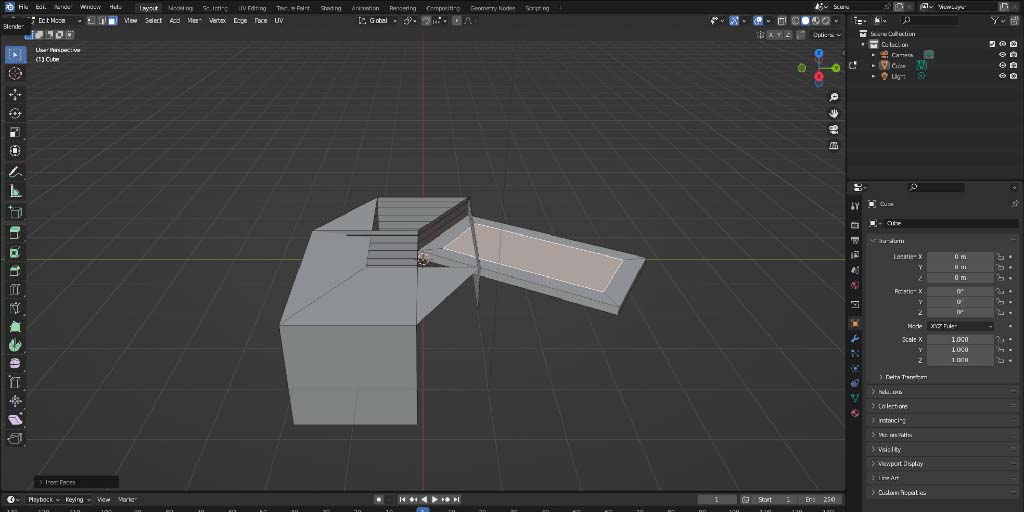
Test
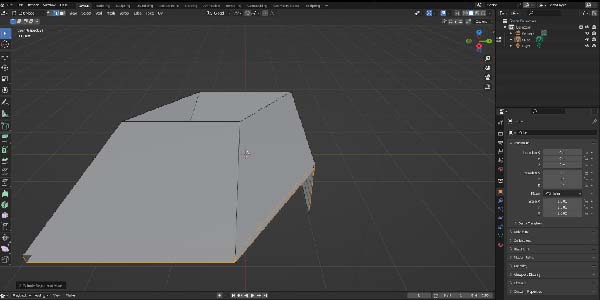
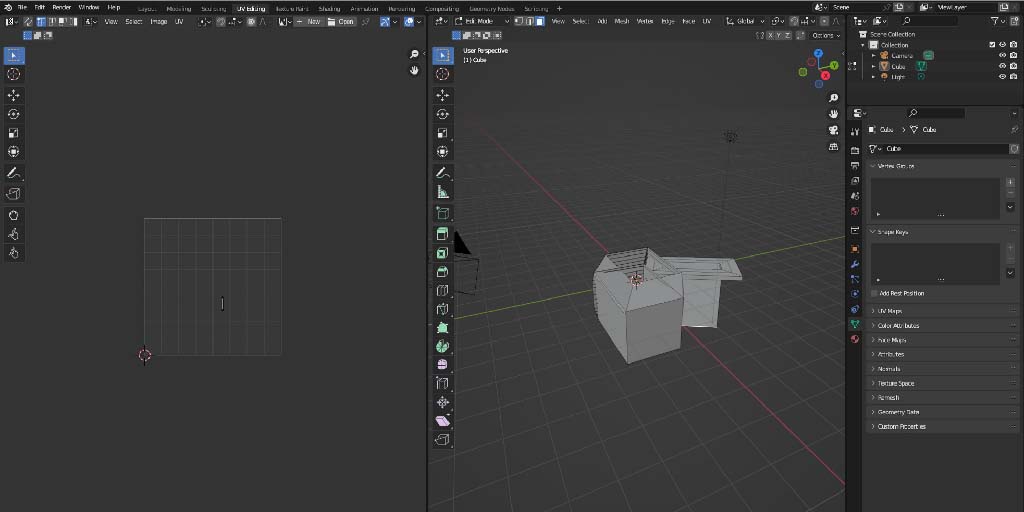
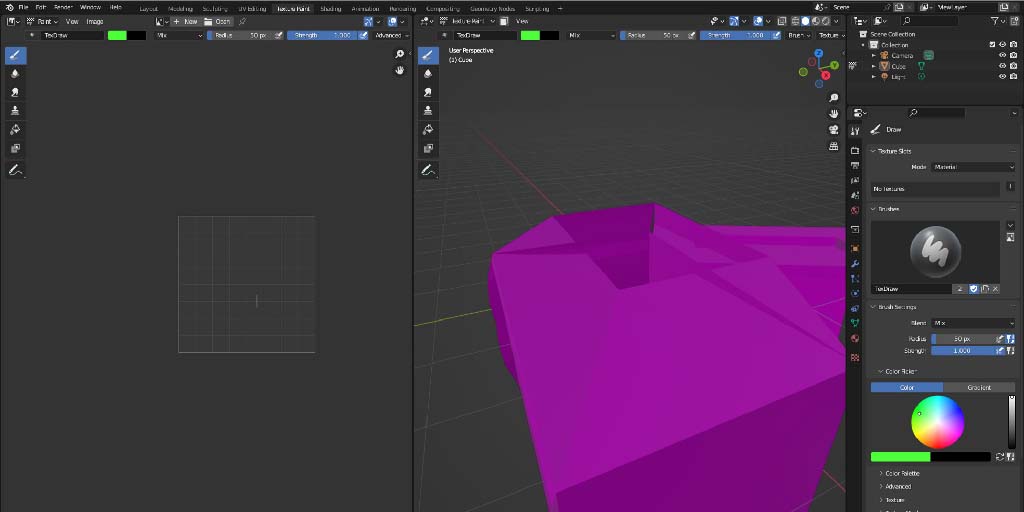
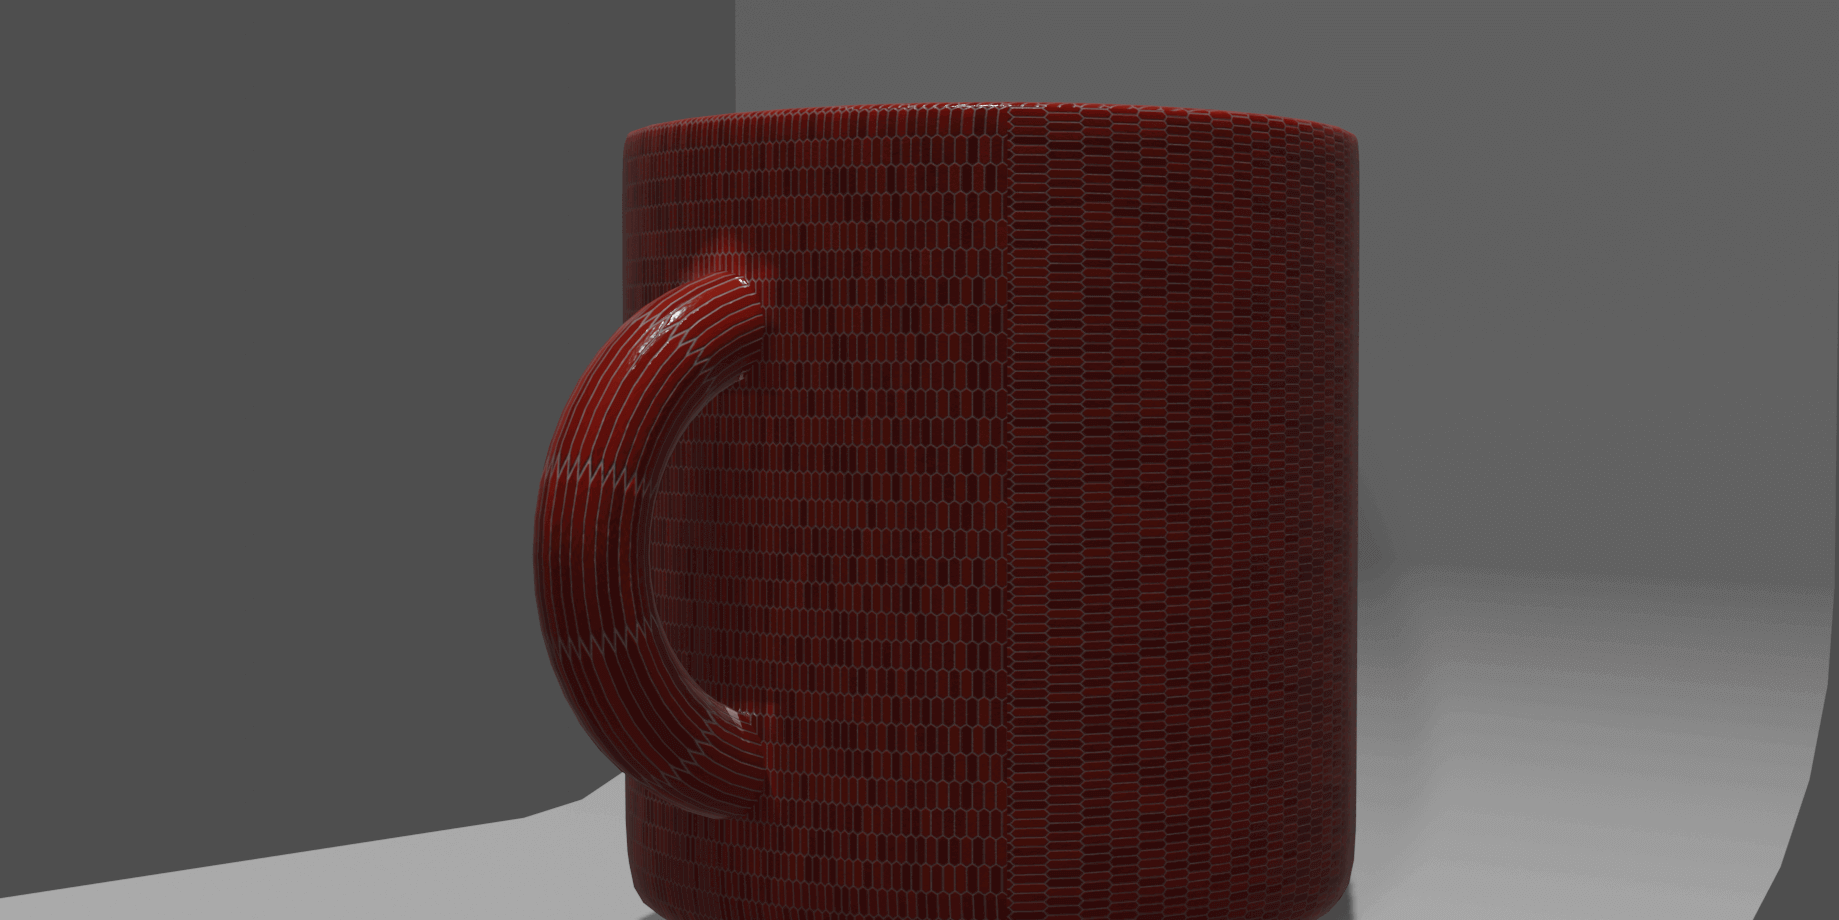
The Cup
I tryed to model a Cup in Blender and you can see the process here